
Last updated November 14, 2026
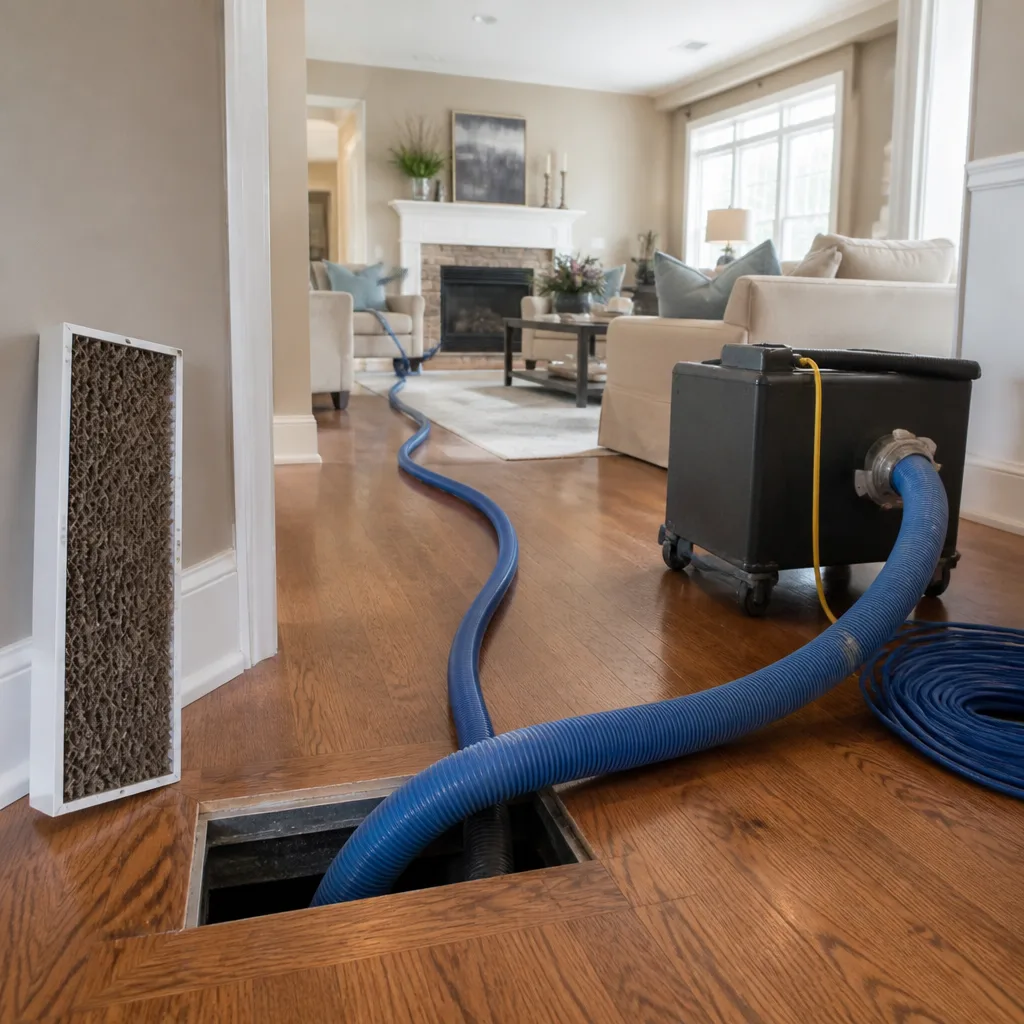 Whole-home duct cleaning
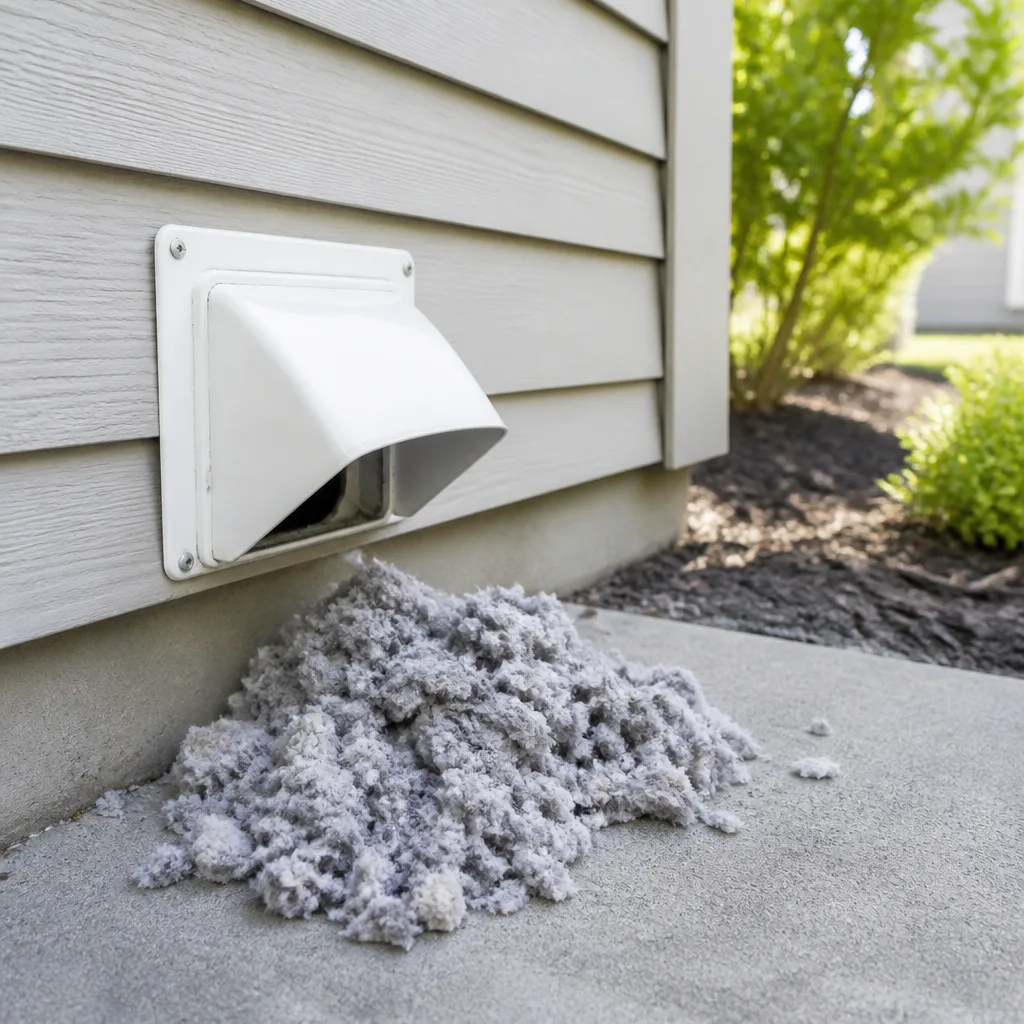 Dryer vent cleaning
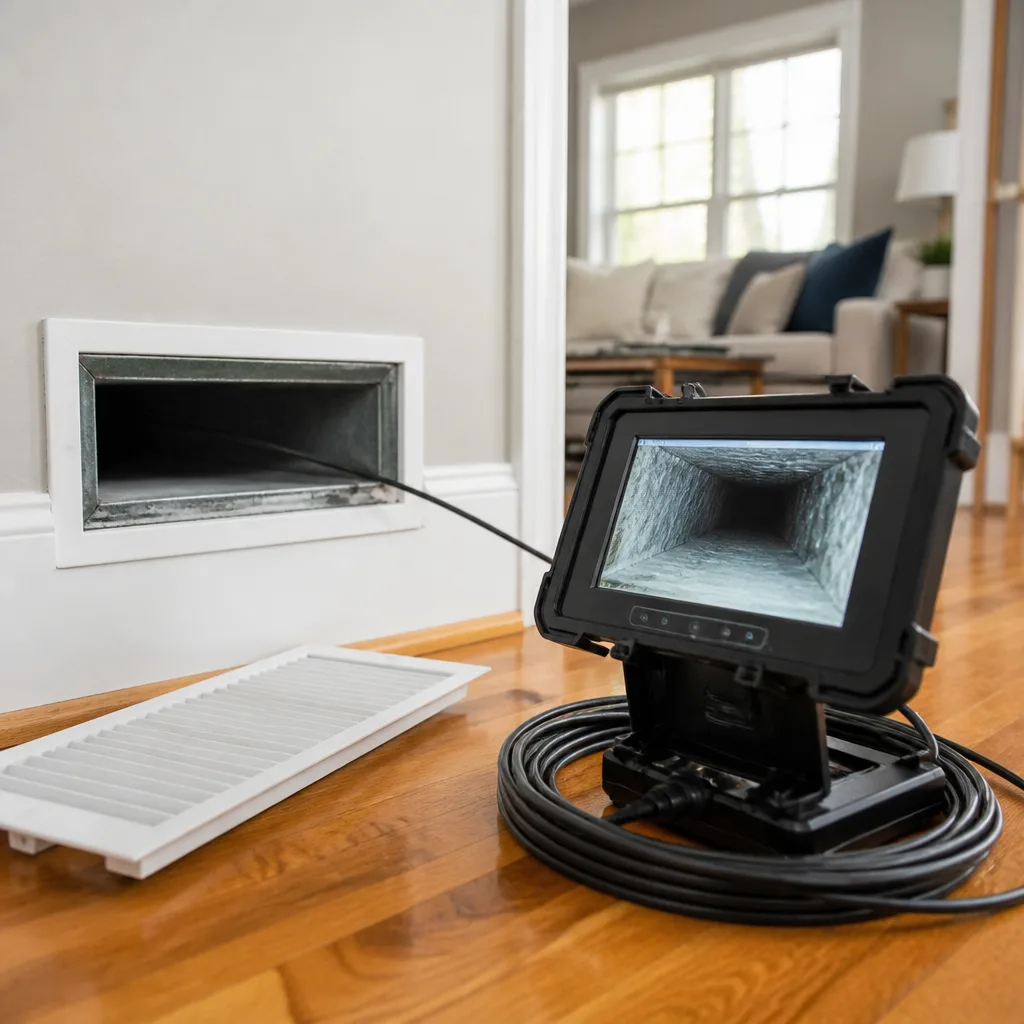 Camera inspection
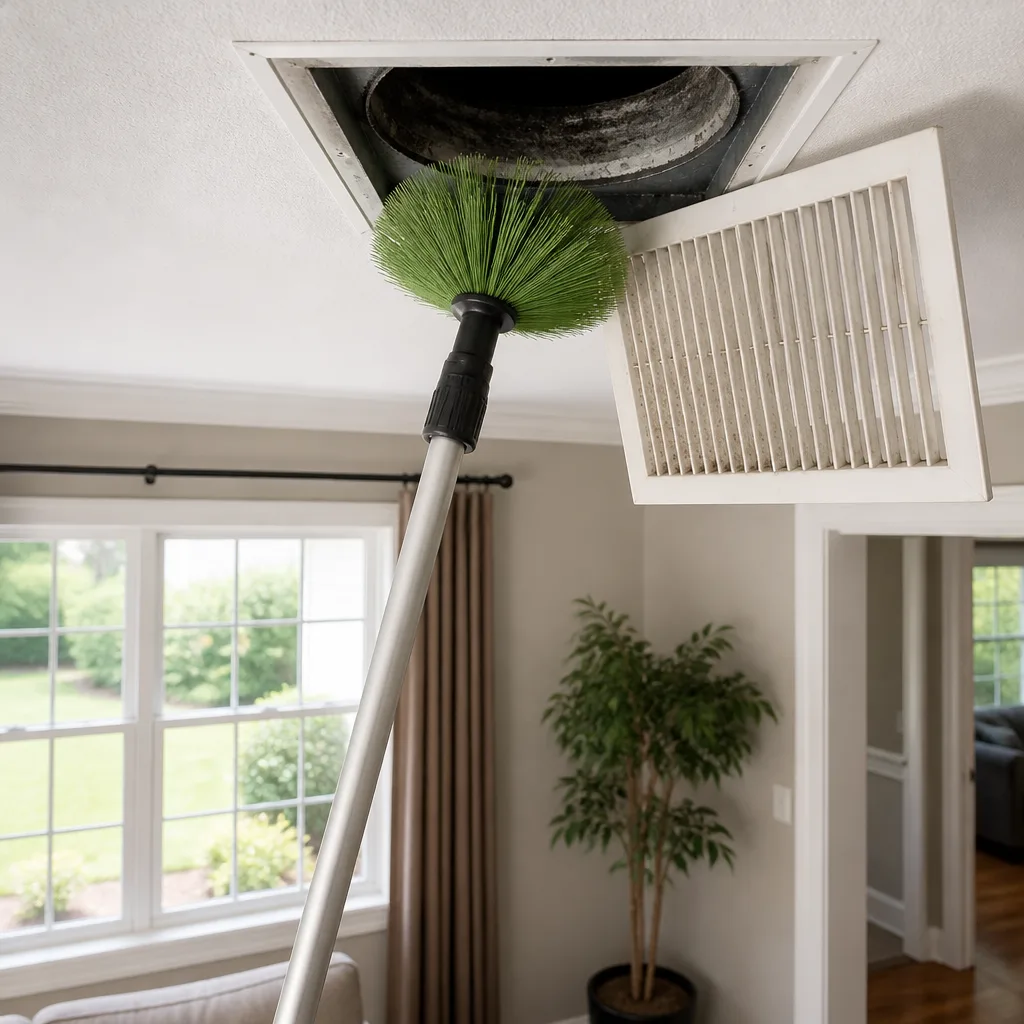 Sanitizing & deodorizing
Whole-system duct and dryer vent check with before-and-after photos - you see exactly what came out of your vents
That "$99 whole-house special" is a bait ad - the real number appears once they are in your hallway, or the "clean" is a shop-vac at the register. We photograph the inside of your ducts before and after instead.
Air Duct Cleaning Maintenance Checklist for Louisville Homeowners
Here’s the part most checklists leave out: the return grille matters more than the supply vent. In Louisville’s heating season, a clogged return forces your furnace to pull against restricted draw, and that added strain wears on the heat exchanger all winter. Most homeowners have never looked behind that grille. This guide walks you through the inspection points a technician checks before connecting a vacuum rig, adapted for the way homes around Louisville are built and the way our seasons load the system. You’ll get a room-by-room checklist, the right timing window, what you can check yourself, what needs a camera, and how to log a baseline you can compare against later.
Quick Answer
A workable air duct maintenance checklist for a Louisville home covers four things: a return-side inspection before every heating season, a filter and grille check at each service date, a post-winter assessment of accessible duct runs before AC season, and a professional cleaning on a schedule set by your home’s age, pets and renovation history rather than a calendar someone printed on a flyer. Most homes need a professional look every few years, not every year, but the return side deserves eyes every season. The checklist below is built around what actually fails in Louisville houses.
Styles & brands we work with
- Whole-home duct cleaning
- Dryer vent cleaning
- Camera inspection
- Sanitizing & deodorizing
Table of Contents
- The Room-by-Room Checklist: Supply Vents vs. Return Grilles
- The Louisville Timing Window: After Heating Season, Before AC Season
- What You Can Inspect Yourself (and What You Can’t)
- Logging a Baseline: The Tissue Test, Filters and Odor Notes
- Maintenance Tasks That Void Manufacturer Warranties If Skipped
- The Dryer Vent: The Checklist Item People Forget
- When Cleaning Isn’t Enough: What Repair Looks Like
- How to Set a Cleaning Schedule for Your Home
The Room-by-Room Checklist: Supply Vents vs. Return Grilles
Supply vents push conditioned air into a room. Return grilles pull air back to the furnace or air handler. They fail differently, and they tell you different things. A dusty supply vent usually means dust is settling on the diffuser after the air leaves the duct. A clogged return grille means the system is starved for air on the intake side, which is the more expensive problem.
Walk your home with this list. It takes about fifteen minutes in a typical Louisville house, and it’s the same walk our technicians make before they connect anything.
- Every supply vent: Look at the diffuser face. Light, even dust film is normal between cleanings. Dark streaks radiating from the vanes, or a fuzzy edge where the ceiling meets the grille, points to dust being pushed out of the duct rather than settling on it. That’s a sign worth noting.
- Every return grille: Remove the grille where you can do it without tools. Look at the filter behind it, the filter slot, and the duct throat beyond. A filter that’s gray and matted on the intake side is doing its job but needs changing. A filter that’s gray and matted and bowed inward means the system is pulling hard against it.
- Basement and crawlspace runs: In older Louisville neighborhoods, the basement is where you’ll see the most. Check for flex duct that sags between hangers, disconnected joints, and torn outer jacket. A sagging run collects dust and condensate.
- Attic runs: Look at the insulation wrap around accessible runs. Bare spots or crushed sections mean the duct is sweating in summer and losing heat in winter.
- Each room’s airflow feel: Hold your hand at each supply while the system runs. You’re not measuring CFM. You’re noticing whether one room feels noticeably weaker than the others. A single weak room often traces to a crushed run or a damper someone closed and forgot.
Write down what you find room by room. That log is worth more at your next service call than any verbal description. When we arrive for air duct cleaning, a homeowner’s written notes shorten the diagnosis considerably.
The Louisville Timing Window: After Heating Season, Before AC Season
The best time to schedule a duct inspection in Louisville is the gap between the end of heating season and the start of cooling season. That window is short, and it matters more here than in most places. Our winters run the furnace hard for months. Our summers run the air conditioner hard, and the AC coils produce condensation. That moisture, sitting in a duct system that just spent a winter collecting dust, is the combination that turns a dusty duct into a musty one.
Here’s the sequence that works:
- At the end of heating season: Schedule the inspection before the first warm stretch. The system is still in heating mode, so a technician can see how it runs under load and check the return side while draw is at its winter level.
- Before AC season loads the system: If cleaning or repair is needed, get it done before the air conditioner starts cycling. Once cooling season begins, condensation forms on cold coil surfaces and any remaining debris in the system gets damp.
- Mid-summer: Check filters at least once. Louisville’s cooling season is long, and a filter that’s fine in May can be matted by July in a home with pets.
- Early fall: Before the furnace takes over again, confirm the return grilles are clear and the filter is fresh.
There’s a reason for the order. Cleaning a duct system in the middle of a humid Louisville summer means the ducts may still be damp from condensate when the job finishes. Cleaning in spring, before the humidity arrives, gives the system time to dry fully. That single timing choice is the difference between a system that smells clean for a year and one that smells like a basement by August. If you’re not sure where your home sits in that cycle, a free estimate from us sorts it out without guesswork.
What You Can Inspect Yourself (and What You Can’t)
There’s a real line between what a homeowner can check and what requires equipment. Knowing where that line sits saves you time and keeps you from missing something important.
What you can legitimately check
- Grille condition: Dust film, streaks, bent vanes, and whether the grille is seated flush. All visible with your eyes.
- Filter condition: Hold it up to a light. You’re checking whether light passes through evenly or whether the center is blocked. Note the date you changed it.
- Visible flex duct sags: In a basement, crawlspace or attic, look at the runs you can reach. Sagging between supports, kinks at bends, and disconnected joints are all visible.
- Insulation around accessible runs: Look for bare sections, crushed wrap, or wrap that’s pulled away at joints. In Louisville attics, this is a common find.
- Odors tied to the system cycling: Does the smell appear when the blower starts and fade when it stops? That ties the odor to the duct system rather than to a room.
What requires professional equipment
- What’s actually inside the duct: The interior of a duct run, past the first elbow, needs a camera. A flashlight at the grille shows you the first six inches.
- Whether the system is under negative pressure: A proper inspection uses a negative-air setup to hold debris in suspension and a HEPA machine to capture it. You can’t replicate that with a shop vacuum, and you shouldn’t try.
- Whether the duct is sealed: Leakage at joints is measurable with pressure testing, not with a visual walk-through.
- The furnace’s heat exchanger: This is a safety item and belongs to a trained technician, not a homeowner with a flashlight.
We use Rotobrush contact-cleaning systems and Nikro HEPA negative-air machines for exactly this reason. Those are the same class of tools used in commercial indoor air quality work, and they’re what let a technician see and clear what a visual walk-through can only hint at. Our Dayspring Air Duct Cleaning process starts with that inspection, because cleaning blind is just guessing with a machine.
Logging a Baseline: The Tissue Test, Filters and Odor Notes
A baseline is a written record of how your system behaves right now, so that later you can tell the difference between a real change and your memory playing tricks. Three simple methods cover it.
The tissue test for airflow balance
Hold a single-ply tissue against each supply vent while the system runs. It should pull flat and hold. Note which vents hold it firmly, which barely move it, and which flutter weakly. Walk the same circuit again after any cleaning or repair and compare. A room that went from fluttering to holding has improved. A room that hasn’t changed tells you the issue wasn’t debris in the duct.
Filter condition at each service date
Write the date on the filter edge with a marker when you install it. Then note two things: how long it lasted and how it looked. A filter that’s uniformly gray is normal. One that’s dark only in the center, or bowed inward, points to a restriction problem upstream. Keep these notes in one place. Over two or three changes, a pattern shows up that’s invisible in any single observation.
Odor notes tied to HVAC cycles
When you notice a smell, note whether it appears when the blower starts and fades when it stops, and which rooms it’s strongest in. A musty smell strongest in the rooms farthest from the air handler suggests the problem is in the long runs. A smell strongest at the return suggests the return side. An odor that shows up only in heating season points toward the heat exchanger area, and that’s a call-a-technician situation, not a cleaning item.
This log is a low-effort habit with real value. When a technician arrives, your notes save diagnostic time, and a record of how the system has behaved across seasons is genuinely useful information. Cleaner air is a result you can measure, and the measurement starts with writing things down.
Maintenance Tasks That Void Manufacturer Warranties If Skipped
This is the section most homeowners never see, and it costs them. If your home has air quality equipment attached to the duct system, some of that equipment has maintenance conditions tied to its warranty. Skip the maintenance and the manufacturer can decline a claim later.
- UV systems: UV lamps degrade over time and lose output long before they stop glowing. Attached UV units usually call for lamp replacement on a set interval, and skipping it can affect coverage of the unit itself. Note the installation date and check the manufacturer’s interval for your model.
- Humidifiers: Whole-home humidifiers need their pads or canisters changed and their water panels cleaned. Scale buildup is the failure mode here, and a neglected humidifier can also become a source of the musty smell you were trying to eliminate. Louisville’s heating season is dry enough that these units run hard.
- ERVs (energy recovery ventilators): ERVs have cores and filters that need periodic cleaning. A clogged core reduces the unit’s effectiveness and, in some manufacturers’ terms, affects warranty coverage. The core cleaning interval is in your owner’s manual.
There’s a practical angle here too. Homes in Louisville with Honeywell or Aprilaire equipment already installed have a filtration and humidity system worth protecting. During a cleaning, we work with and around that equipment rather than treating it as an obstacle. If the ducts are being cleaned and the humidifier pad is a decade old, that’s the moment to mention it. Check your own manuals for the exact intervals, because they vary by model and we won’t guess at yours.
The Dryer Vent: The Checklist Item People Forget
A duct maintenance checklist that stops at the HVAC system is incomplete. The dryer vent is a duct too, and it carries the highest safety stakes of anything on this list. The National Fire Protection Association lists failure to clean the dryer vent among the leading causes of residential fires. That makes this a safety service, not a convenience add-on.
What to check between professional cleanings:
- Drying time: If a normal load takes noticeably longer than it used to, restricted airflow is the first suspect.
- Heat and humidity in the laundry room: A dryer that feels unusually hot to the touch, or a laundry room that gets humid during a cycle, points to a vent that isn’t moving air out.
- The exterior vent flap: Go outside and watch it while the dryer runs. It should open with visible force and close when the cycle ends. A flap that stays shut or barely moves tells you the run is restricted.
- Lint behind and beneath the dryer: A little is normal. A thick mat accumulating quickly means the run isn’t clearing.
- The transition duct: The short connector between the dryer and the wall should be smooth metal, not the foil or vinyl accordion type that traps lint at every ridge.
We handle dryer vent cleaning as its own service for exactly this reason. It’s a different job from HVAC duct cleaning, with different tools and a different risk profile, and it deserves its own line on your checklist.
When Cleaning Isn’t Enough: What Repair Looks Like
Cleaning removes what’s inside the duct. It doesn’t fix a duct that’s come apart. In Louisville’s older housing stock, disconnected joints, crushed flex runs, and torn outer jackets are common finds, and a cleaning crew that can only report them leaves you calling a second contractor.
What actually gets repaired, in our experience:
- Disconnected joints: Sections that have separated at a collar or takeoff, letting unconditioned air into the run and dust into the room.
- Crushed or kinked flex duct: Usually at a tight bend or where something has been stacked on top of the run. A crushed run moves almost no air.
- Torn or missing insulation wrap: The cause of summer condensation and winter heat loss on attic and crawlspace runs.
- Failed connections at the air handler: Where the main trunk meets the equipment, and where small gaps pull attic or crawlspace air into the system.
We repair what we find rather than just reporting it. That matters because the alternative is a homeowner coordinating two contractors, one to clean and one to fix, with the cleaning crew refusing to touch the damaged section and the repair crew arriving after the ducts are already dirty again. Handling the full duct lifecycle, inspection through cleaning through repair, keeps the work in one set of hands. If you’re weighing a repair, read up on our Louisville service before you decide.
How to Set a Cleaning Schedule for Your Home
There’s no universal interval. Anyone who quotes you one without asking about your home is guessing. What actually drives the schedule:
- Pets: A home with shedding pets accumulates debris faster than one without. Two dogs will move the interval up.
- Recent renovation: Drywall dust and construction debris are the single biggest load a duct system sees. Any home that’s been through a remodel should be inspected afterward.
- Home age and duct material: Older Louisville homes with original sheet metal ductwork behave differently from newer construction with long flex runs.
- Smoking or wood burning indoors: Both add to the load.
- Allergy or respiratory concerns in the household: This changes the priority, not necessarily the interval. It means you want the return side checked each season.
- What your baseline log shows: If filters are lasting their full interval and the tissue test is steady, you’re in good shape. If filters are matting early and one room keeps losing airflow, that’s your signal.
A reasonable starting point for a typical Louisville home with no special factors is a professional inspection every few years, with the homeowner-side checks happening every season. Homes with pets, recent renovation, or allergy concerns in the family should shorten that. We give free estimates, so the cost of an inspection isn’t a reason to put it off.
Common Mistakes to Avoid
- Checking only the supply vents. The return grille is where the restriction lives, and it’s the one most homeowners never remove. Look behind it each season, especially before heating season starts.
- Cleaning in the middle of summer. In Louisville’s humid cooling season, ducts stay damp from condensate. Cleaning in that window can leave the system smelling musty rather than fresh. The post-winter, pre-AC window is better.
- Using a shop vacuum on duct runs. A consumer vacuum has no HEPA capture and no negative-pressure control. It stirs debris into the room rather than removing it, and it can’t reach past the first elbow.
- Ignoring the attic and crawlspace runs. These are where sagging flex duct, torn insulation and disconnected joints hide. They’re also the runs most likely to cause condensation problems in a Louisville summer.
- Skipping humidifier and UV maintenance. These are the items that can affect manufacturer warranty coverage. Check your manual for the interval rather than assuming the equipment will look after itself.
- Forgetting the dryer vent entirely. It’s a duct, it clogs, and it’s the highest-consequence item on the list. Check the exterior flap monthly.
- Trusting a visual walk-through as a full inspection. A flashlight at the grille shows six inches. What’s inside the run needs a camera and a negative-air rig.
See the difference
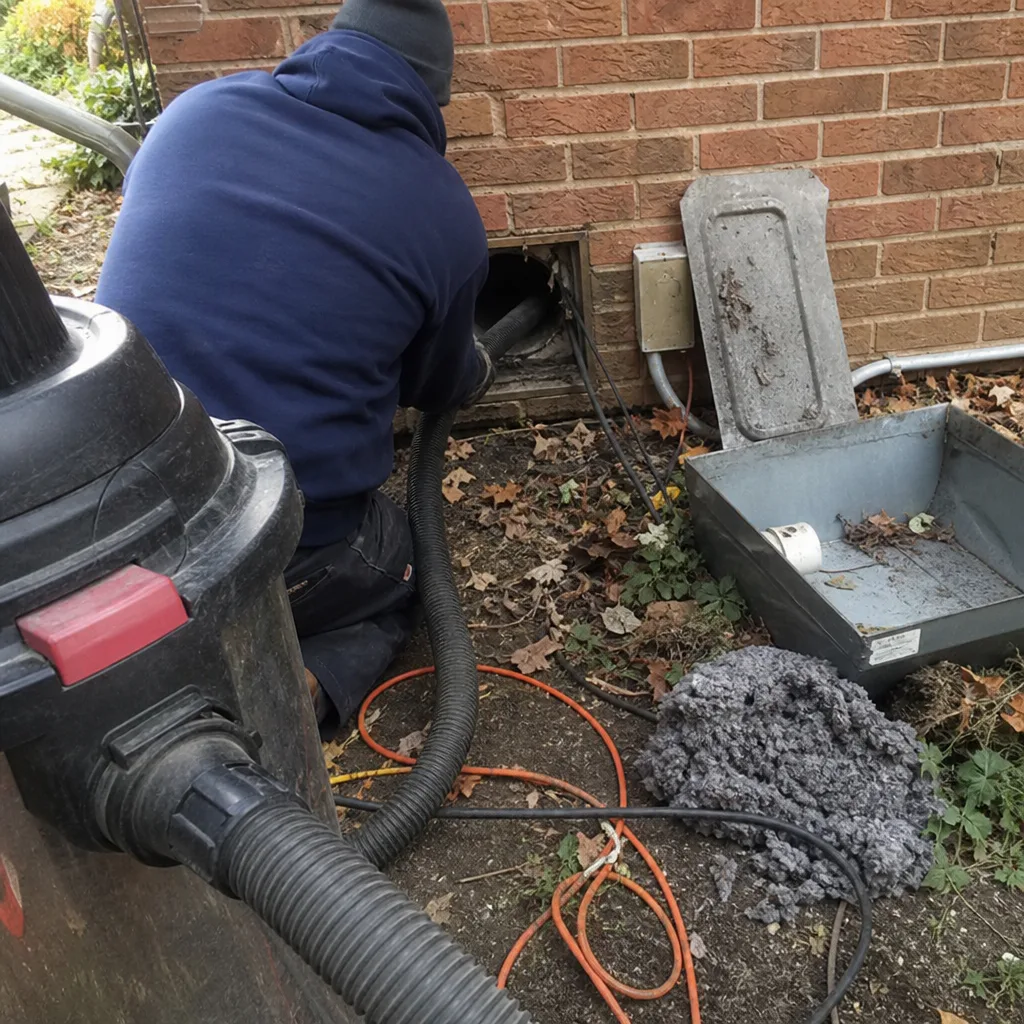 Before
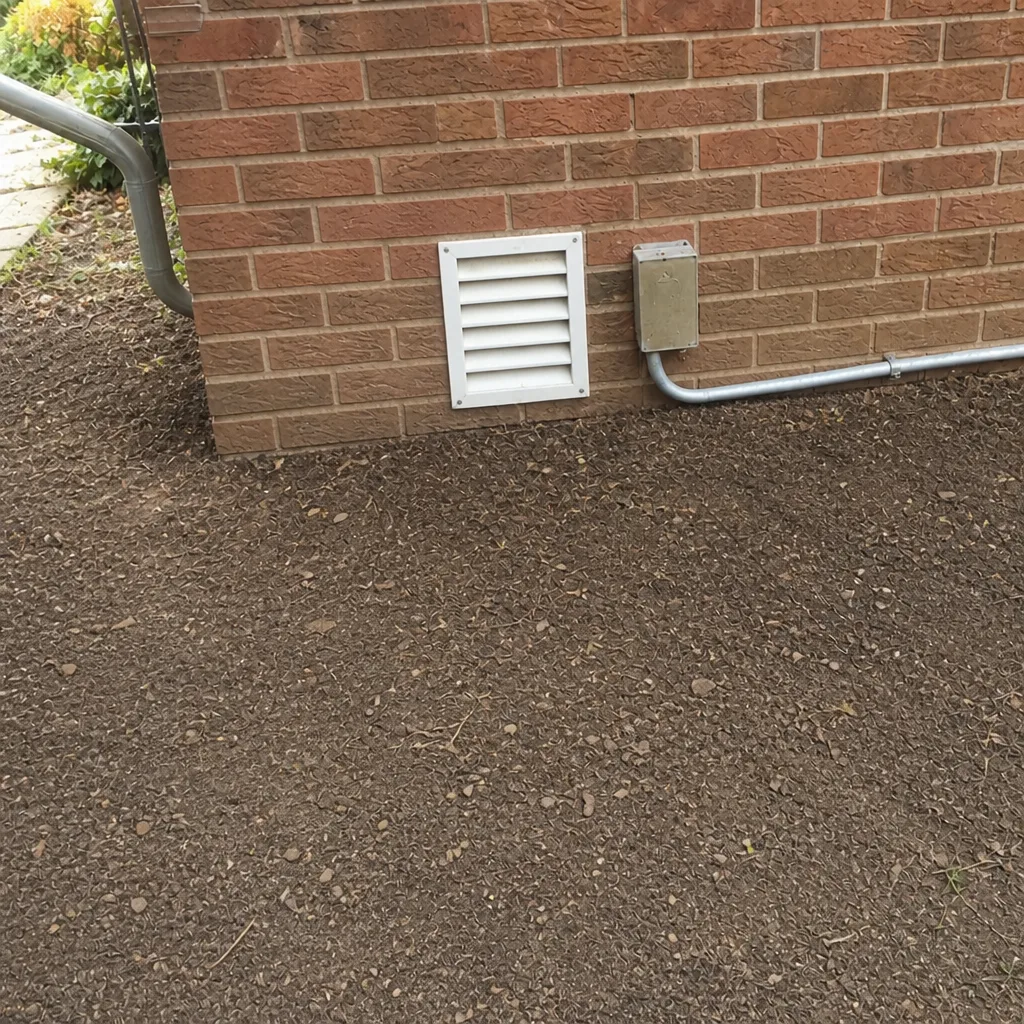 After
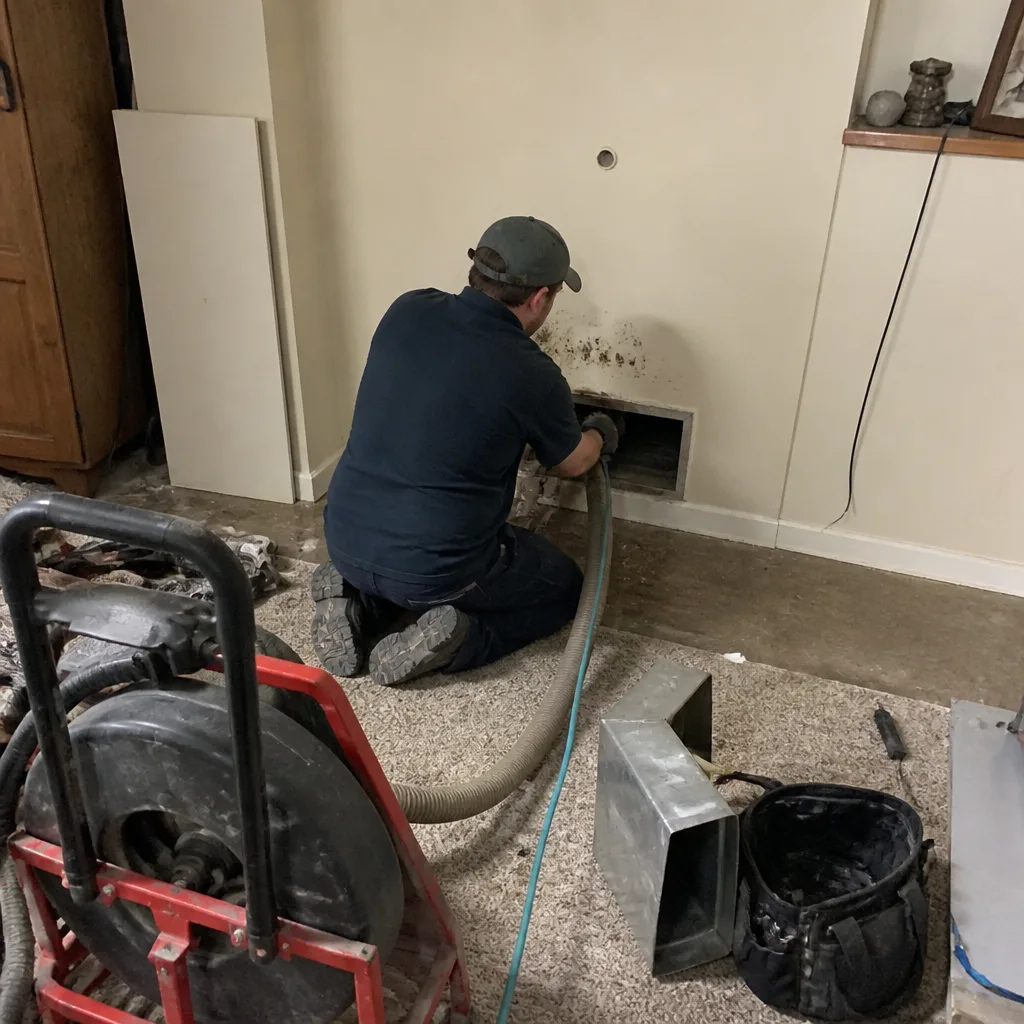 Before
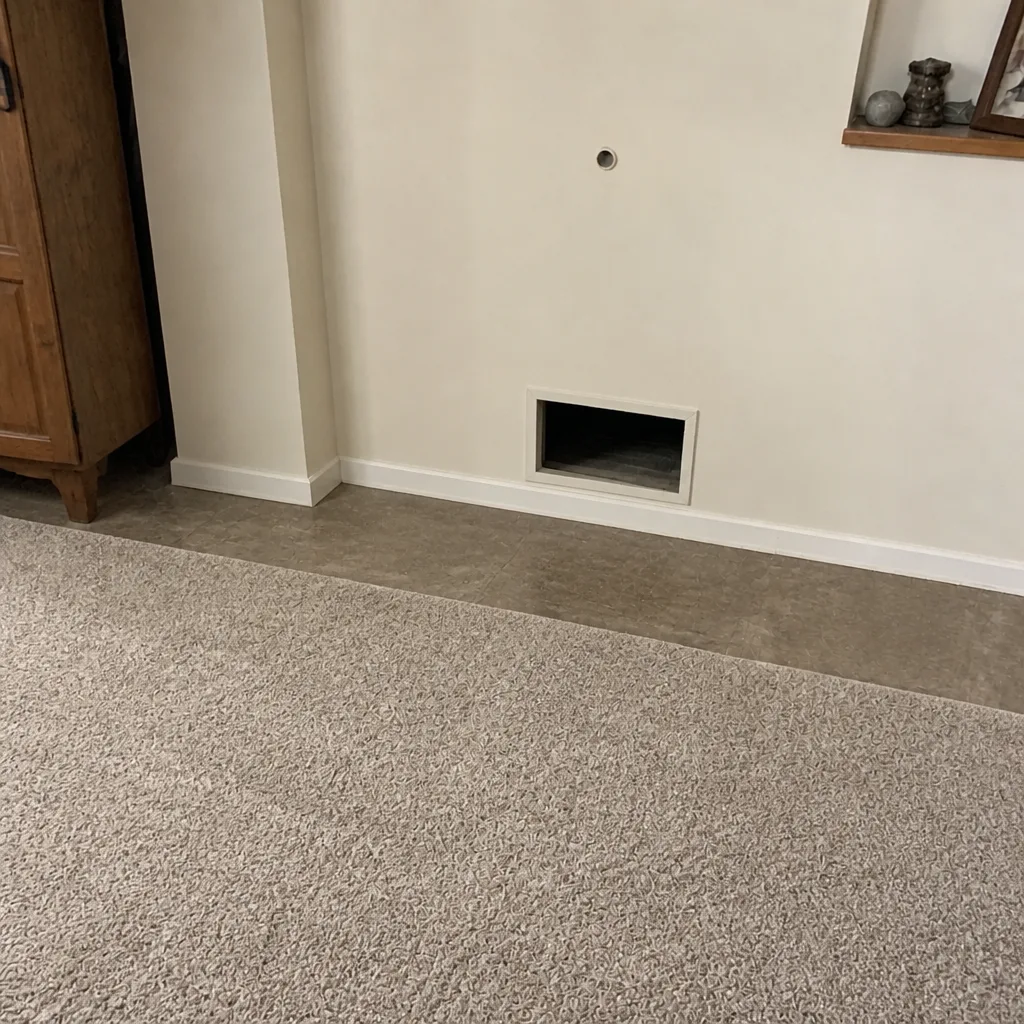 After
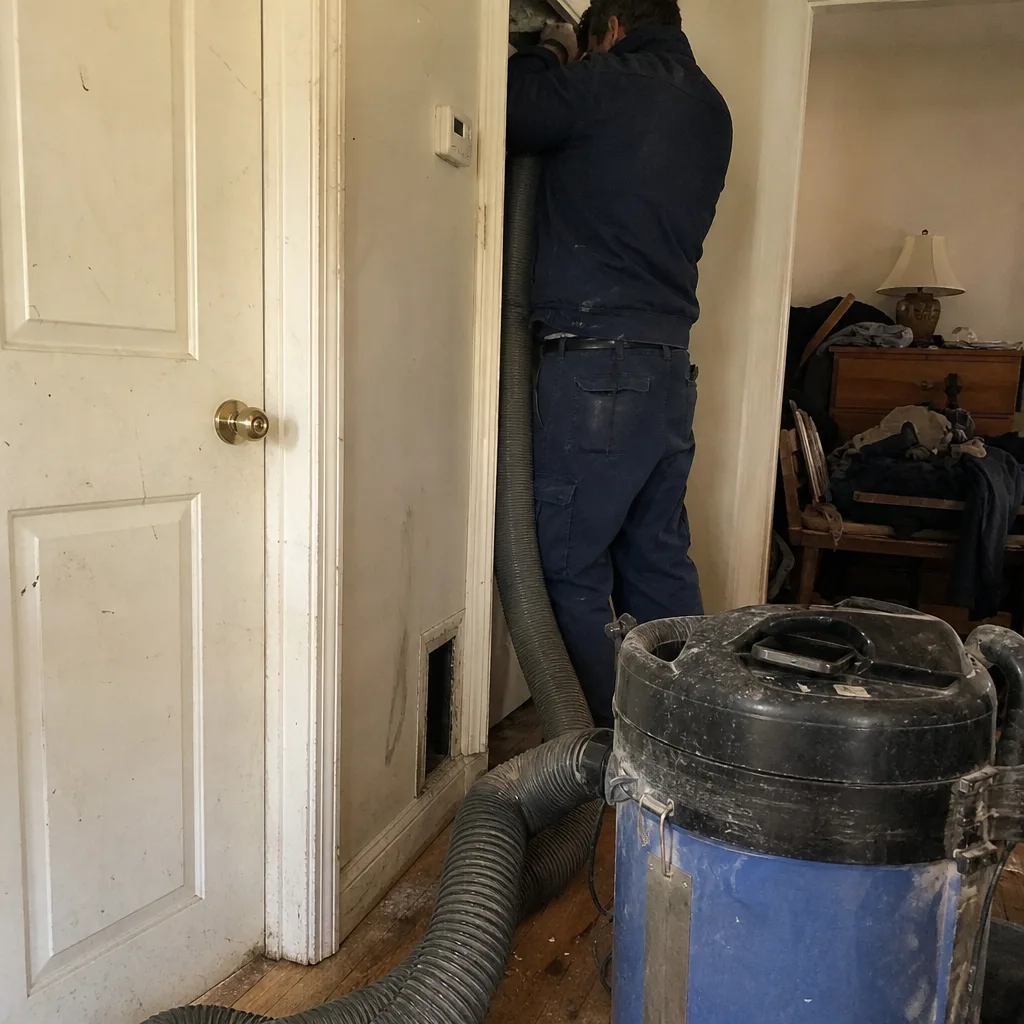 Before
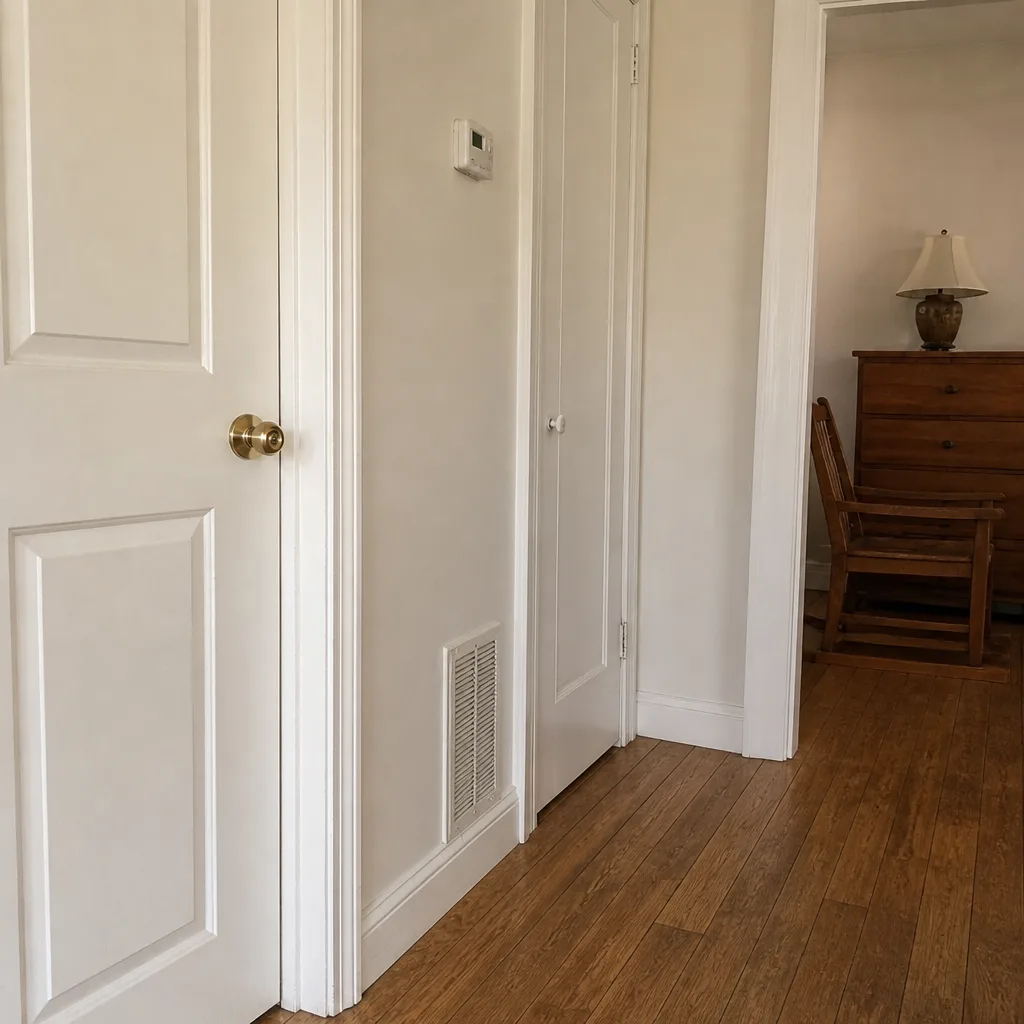 After
When to Call a Professional
Call a professional if any of these apply: you’ve never had the ducts inspected in a home you’ve owned for years, you’ve just finished a renovation, you’ve noticed a musty smell that appears when the blower starts, one room consistently loses airflow, you can see sagging or disconnected flex duct in the basement or attic, the dryer takes noticeably longer to finish a load, or someone in the house has allergy or respiratory concerns that have gotten worse. Any one of those is enough. You don’t need to wait for several. Dayspring Air Duct Cleaning offers free estimates in Louisville, and we handle cleaning, repair, and dryer vent work as one crew. Call (877) 517-3289. We answer 24/7. Fast dispatch from 7am to 7pm, Sunday through Friday, closed Saturday.
Frequently Asked Questions
Most Louisville homes need a professional inspection every few years, not an annual cleaning. The interval shortens if you have shedding pets, have recently renovated, or have allergy concerns in the household. The homeowner-side checks in this guide should happen every season, especially the return grille before heating season. Call (877) 517-3289 for an exact quote, because your home’s specifics set the schedule.
The best window is after heating season ends and before the air conditioner starts running hard. Cleaning in that gap means the ducts aren’t damp from summer condensate, and the system gets a clean start before cooling season. Cleaning mid-summer in Louisville’s humidity is the timing most likely to leave a musty result.
No. A shop vacuum has no HEPA capture and no way to hold the system under negative pressure, so it stirs debris into the room instead of removing it. It also can’t reach past the first elbow. You can and should check grilles and filters yourself; the cleaning itself needs professional equipment. Call (877) 517-3289 and we’ll walk you through what your home actually needs.
If the smell appears when the blower starts and fades when it stops, the duct system is the likely source. In Louisville, that pattern often traces to condensation on runs that spent the winter collecting dust. A camera inspection confirms it. It’s worth having checked rather than covered up with an air freshener.
Pricing is set per job by a written estimate, based on the size of the system, the number of runs, and whether repair is needed. We don’t price per vent, because that model rewards counting vents rather than cleaning the system. The written estimate sets the final price, and the estimate itself is free. Call (877) 517-3289 for yours.
We repair it rather than just reporting it. Disconnected joints, crushed flex runs, and torn insulation wrap are common finds in Louisville’s older homes, and a cleaning crew that can only hand you a report leaves you hiring someone else. Bringing the full lifecycle under one crew means the ducts get clean and stay sealed. Call (877) 517-3289 to book an inspection.
The Bottom Line
A duct maintenance checklist is only useful if it’s built for the house it’s applied to. For Louisville homeowners, that means emphasizing the return side before heating season, scheduling any real work in the gap between winter and AC season, logging a baseline you can compare against, and not forgetting the dryer vent. You can check grilles, filters, visible runs and insulation yourself. The inside of the duct needs a camera and a negative-air rig. And if the inspection turns up damaged ductwork, you want a crew that repairs what it finds. That’s the whole checklist. Call (877) 517-3289 for a free estimate and we’ll start with what’s actually inside your system.
Written by the team at Dayspring Air Duct Cleaning, serving Louisville since 2013.